A spreadsheet is used for counterpart import. Data columns represent the data entry fields while each row is a new record. Each counterparty row has columns to enter one contact along with the counterparty information. To ensure the correct format is used, first export any existing Counterparties to Excel, then use the same sheet as a template to (re-)import Counterparties.
Please see the section above for the list of data columns.
Note: The export structure is similar to Relations but has less columns in a different order.

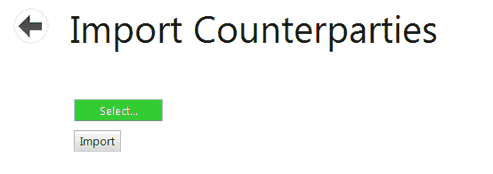
| • | To begin a counterparty import, select the Counterparties tile from the Home screen. |
| • | Select the Import button on the app bar at the top right of the screen. |
| • | Select the Select button. A dialog to select a file will open. |
| • | Select a spreadsheet for import. Any name may be used for the file, but it must be a spreadsheet in Excel 2007 format or higher (i.e. XLSX). |
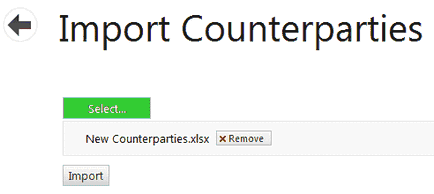
| • | Once selected, the file name will appear on the screen. |
| • | Only one spreadsheet may be imported at a time. |
| • | To delete the spreadsheet select the red X next to the spreadsheet name. |
| • | Select the Import button to begin the import process. |
| • | When the import is completed, the message “Import successfully completed” will appear. |
Note: Error messages will appear if there is a problem with any of the data. This may include omission of required information, duplicate data or incorrect data entered in a field matched against Master data values. Counterparty import follows the “all or nothing” rule. If an error is found, the import process is stopped and no records are imported. Check the file, correct the error and try the import again.